
Google Docs: How to add page numbers and bookmarks
Have you ever worked on a project in Google Docs, only to realize later that you can’t find specific pages? For example, you may have wanted to cite some information that was on page 8 of your document, but when you go back to the beginning of the file and search for page 8, nothing pops up. You end up having to page through every single page looking for it. Wouldn’t it be great if there was an easier way? Luckily, there is!
Create a document
Adding page numbers will not only help you keep your place, but also make your document look more polished. The easiest way to do this is by clicking View in the top-left corner of the document window, then selecting Document Properties. From there, you can change the Page Setup setting for either a One or Two-sided Document from None to Manually Enter Page Numbers.
Insert the Table of Contents template
- Introduction Acknowledge credibility of the author. Explain purpose of the blog post in two sentences. List table of contents as a list, itemized by headings. Mark one (1) sentence with paragraph break as second point]
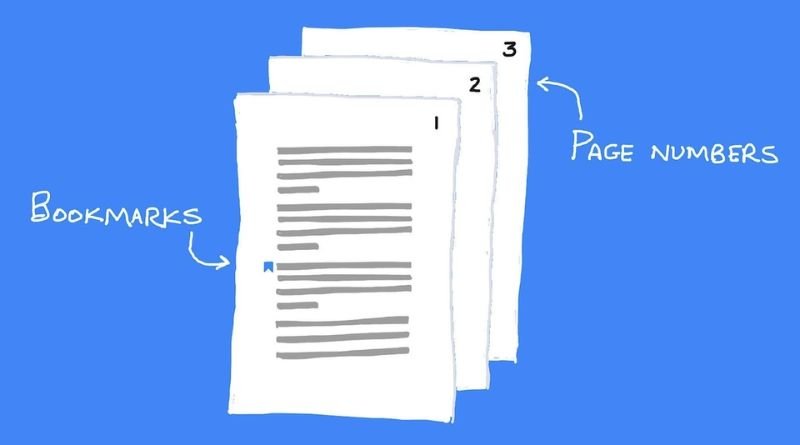
- What are Page Numbers?
Click on Insert Page Number under References
- Highlight the text you want numbered (e.g., Appendix A)
- From the menu bar, go to References > Insert Page Number
- Select the type of numbering (e.g., Arabic) and set how many lines you want
- Click on where you want the number inserted into your document
- Start typing (this will automatically insert your new number)
- If you need to adjust any of your settings later.
Save your document
- Click on the ribbon, which is in the top-left corner of your document.
- Choose Add Page Number, which will bring up a window for you to input the number of pages in your document
- You can also choose Bookmark from this menu and give it a title (this will help you create different sections that are organized by bookmark)
Edit your footer information
Disk Cleanup cannot clean up hiberfil.sys. Disk Cleanup works only on files that are in the Recycle Bin, or on the disk with enough free space. If you want to delete hiberfil.sys, you must disable Windows Hibernate function firstly.
Add your bookmarks
To manually delete the file, you will need to use Windows’ Disk Cleanup Tool:
- Open File Explorer, press Control + E on your keyboard and search for disk cleanup
- In the left pane of File Explorer, right-click on C:\ and select Properties – Select the Disk Cleanup tab at the top of this window and click Clean up system files
- You should now see a list of different types of files that can be deleted. Scroll down until you find Hibernation file. Click it, then click OK
- Confirm that Delete the selected item is highlighted in blue at the bottom of the window before clicking OK